
Plow Handles and Beams
Please call 570 836 8004 to order!
We have had problems with the website.
Linda will be glad to take your order. Thank you
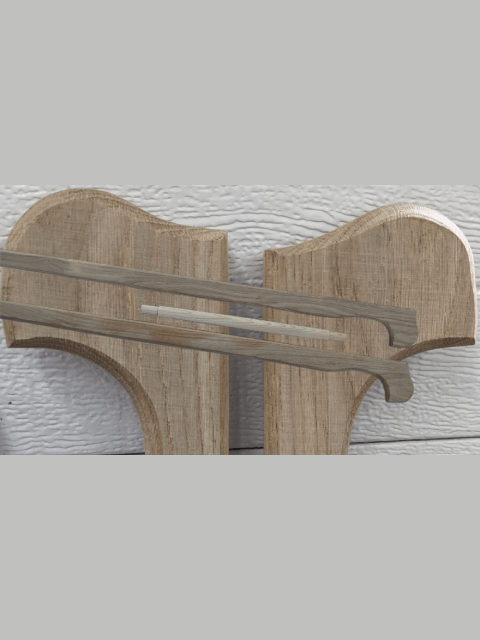
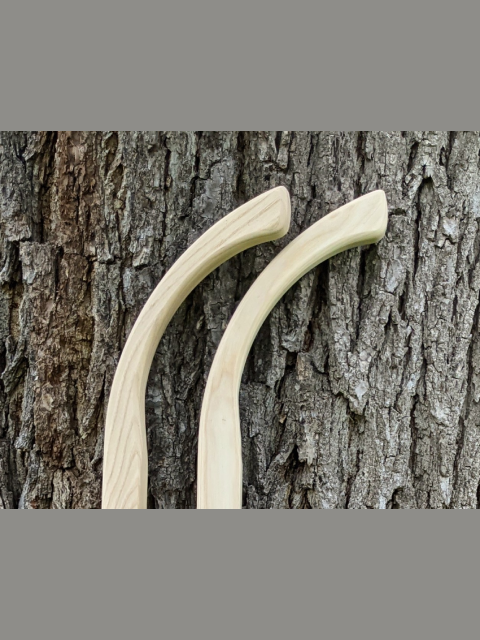
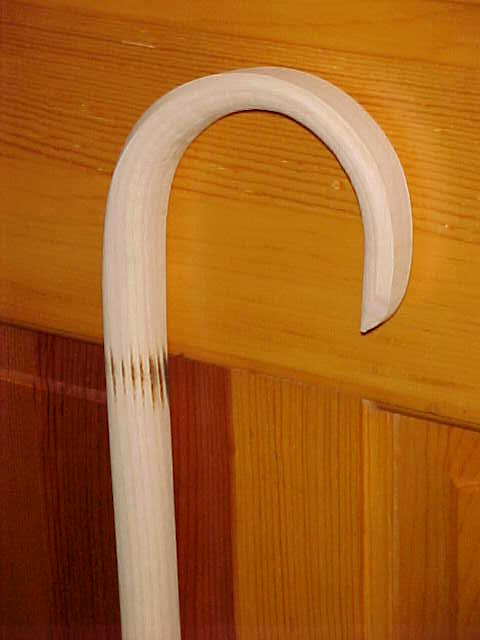
Our handles are made of solid Ash, hand made. These handles are Old-fashioned styled after the early 1800’s you will only find here! With thick grips for comfort. We design them for durable and reliable service. Each hand made! Made one at a time! We have been selling these handles for over 30 years. They are smooth and ready to finish for you and with No brand you can finish to your liking. This style can not be found, only at Farmer Browns Plow Shop. We are the guys that use these handles. We have a Wood Craftsman make them for us in Vermont. Family run. You will not find seconds here.
They are beautifully made ready for your plow.
How to make your handles have that old look
How to make your handles have that old look
2 Let set for two days for medium stain or 4 days for darker stain. Pour stain into a new container using a strainer
3 Sand wood with coarse sandpaper for better wood penetration..
4 Apply with brush, until wood is fully penetrated with stain.
5 After wood has completely dried, wax with Minwax and polish with a towel.
6 If you want and aged finish, distress the wood,sanding,then applying stain..

Here’s what you need: Another method but it looks like you can make them darker.
Here’s what you need: Another method but it looks like you can make them darker.
White vinegar from the supermarket. Any brand will do, but you may need at least a gallon for a decent sized room and more for a very large room such as a living room.
Lots of steel wool. Preferably a fine, very fine, or ultra-fine grade with minimal impurities or additives (no SOS, stainless steel or anything of that nature, you’ll see why.)
Lots of soft rags. Most hardware stores will have great prices on bags of T-shirt material rags, which are perfect, but even old bath towels will do.
A couple hours of free time.
Optionally:
Some bags of tea for extra color, even a bit of water-based stain for tinted colors if desired.
I chose to go without including these.
How-To:
1) Half-empty the bottle of white vinegar. You may set aside the vinegar you had to remove for anything else.
2) Insert several bunches of steel wool into the bottle of vinegar, making them as submerged as possible.
3) If desired, add several bags of tea, a bit of water-based stain for extra color.
4) Cover the bottle and allow to sit anywhere from 12 hours overnight to 2 days. The longer you allow it to sit, the more the steel wool will break down into the vinegar and even if you can’t see it, the mix will be more potent (darker when applied to wood
5) Prepare the wooden object or surface you wish to apply the vinegar to. This works by far the best on fresh or sanded wood. Any residue from pre-stain, beeswax, and other substances can make application quite sloppy and time consuming.
6) Open the vinegar bottle. Some warm air will probably escape as you open it; this is normal although the immediate smell may not be cologne-quality. If you can access the steel wool through the opening, then go ahead and remove it. If not, you can just cut above the liquid until the vinegar bottle functions as a bowl.
7) Take a pad of steel wool and scrub it smoothly but firmly across the object as evenly as possible. Don’t be surprised if you see little or no color at first. The wood will react over the course of several minutes and perhaps not show the “permanent” outcome for a day.
8) Take a handful of damp rags and wipe the area down firmly, attempting to mix any streaks or blobs the steel wool left
9) Wipe thoroughly with dry rags.
By the time you’ve done all of this, you should notice that the wood you’ve applied the mix to has gradually darkened. The smell of the vinegar will eventually clear out, and on the upside, vinegar is actually a great cleaning product and extremely mold-resistant.
On light pine, this will result in a golden-red with a dull gray hue and flat texture. On oak, this will result in blackening. On red cedar, this will result in a black/gray/pink swirl. I’ve seen the mix applied to pine with a blue water-based stain with some interesting but very
niche results.
I included a before/after photo with the article to illustrate my end-result when utilizing this aging technique on my pine walls. Conclusion: They nearly identically resemble the half-century old wood in the downstairs living room and create almost a medieval aesthetic when combined with stone or ceramic flooring. I simply couldn’t get the same subtle look with stain!